
代码地址
什么是 FastAPI?
FastAPI 是一个现代、高性能的 Python Web 框架,用于快速构建 API。它基于 Python 的类型提示(type hints)和异步编程,利用 Starlette 和 Pydantic,提供自动生成交互式文档(基于 OpenAPI 和 Swagger UI)以及高性能的特点。
教程大纲
- 环境准备
- 基础示例:Hello World
- 路径参数和查询参数
- 请求体和数据验证
- 异步编程
- 依赖注入
- 中间件和错误处理
- 部署 FastAPI 应用
1. 环境准备
安装必要的工具 (我在教程中安装的python=3.11)
确保您已安装 Python 3.7 或更高版本,然后使用以下命令安装 FastAPI 和 Uvicorn(一个 ASGI 服务器,用于运行 FastAPI):
pip install fastapi==0.115.12 uvicorn==0.34.0
可选:安装其他依赖
pydantic:用于数据验证(FastAPI 已包含)。httpx:用于测试 API(可选)。
2. 基础示例:Hello World
让我们从一个简单的 FastAPI 应用开始。
代码示例
创建一个文件 main.py:
from fastapi import FastAPI

app = FastAPI()

@app.get("/")
def read_root():
    return {"message": "Hello World"}

# 然后你就可以使用 uvicorn 01-simple_start:app  --reload  去开启服务了

# 当然你也可以直接运行,使用下面的方式去开启服务

if __name__ == "__main__":
    import uvicorn
    uvicorn.run(app, host="0.0.0.0", port=8000)
运行应用
在终端中运行以下命令:
uvicorn main:app --reload
main是文件名(不带.py)。app是 FastAPI 实例的名称。--reload会在代码更改时自动重启服务器,适合开发环境。
测试
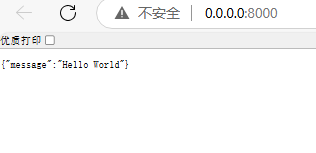
打开浏览器访问 http://127.0.0.1:8000,您将看到:
{"message": "Hello World"}
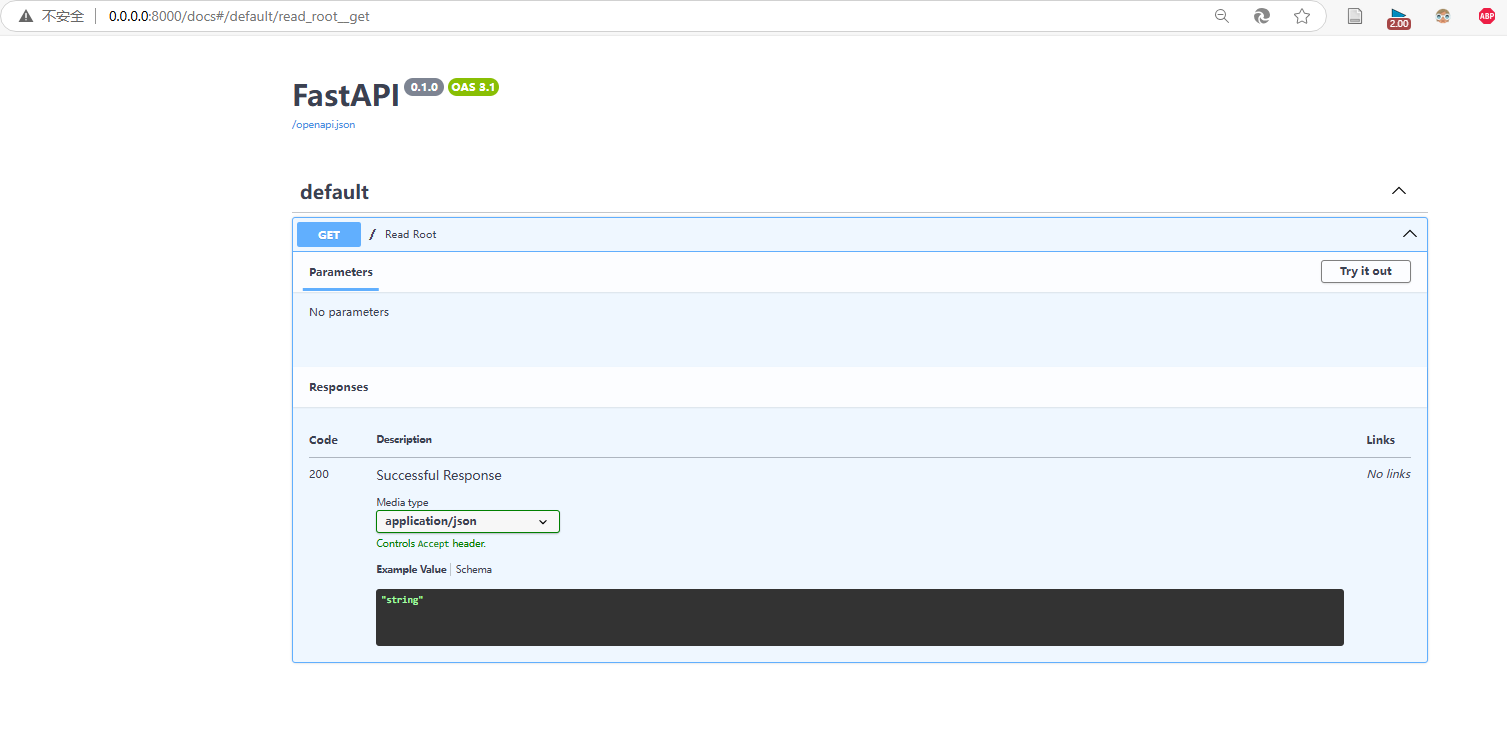
FastAPI 还提供交互式文档,访问 http://127.0.0.1:8000/docs 查看 Swagger UI。
3. 路径参数和查询参数
路径参数
路径参数通过 URL 传递,例如 /items/1。
@app.get("/items/{item_id}")
def read_item(item_id: int):
    return {"item_id": item_id}
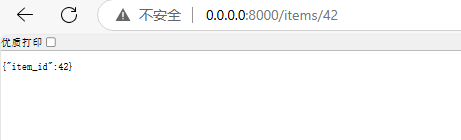
访问 http://127.0.0.1:8000/items/42,返回:
{"item_id": 42}
查询参数
查询参数通过 ?key=value 形式传递。
@app.get("/items/")
def read_items(skip: int = 0, limit: int = 10):
    return {"skip": skip, "limit": limit}
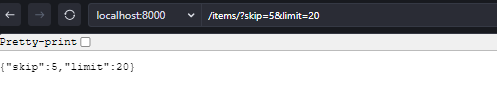
访问 http://127.0.0.1:8000/items/?skip=5&limit=20,返回:
{"skip": 5, "limit": 20}
4. 请求体和数据验证
FastAPI 使用 Pydantic 模型来处理请求体和数据验证。
定义 Pydantic 模型
from pydantic import BaseModel

class Item(BaseModel):
    name: str
    price: float
    is_offer: bool = None  # 可选字段,默认 None
处理 POST 请求
@app.post("/items/")
def create_item(item: Item):
    return {"name": item.name, "price": item.price, "is_offer": item.is_offer}
测试
使用 Swagger UI (/docs) 或以下 curl 命令:
curl -X POST "http://localhost:8000/items/" -H "Content-Type: application/json" -d "{\"name\": \"Book\", \"price\": 9.99, \"is_offer\": true}"
返回:
{"name": "Book", "price": 9.99, "is_offer": true}

如果数据格式错误(例如 price 传入字符串),FastAPI 会自动返回验证错误。
![]()
5. 异步编程
FastAPI 支持异步函数,使用 async def,适合 I/O 密集型操作(如数据库查询)。
异步示例
import asyncio
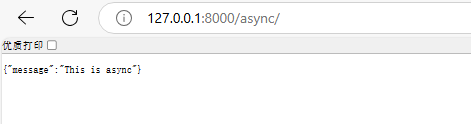
@app.get("/async/")
async def read_async():
await asyncio.sleep(1) # 模拟异步操作
return {"message": "This is async"}
访问 http://127.0.0.1:8000/async/,1 秒后返回结果。
6. 依赖注入
依赖注入允许您在多个路由中复用代码,例如身份验证或数据库连接。
定义依赖
from fastapi import Depends

async def common_parameters(q: str | None = None, skip: int = 0):
    return {"q": q, "skip": skip}

@app.get("/depends/")
async def read_depends(commons: dict = Depends(common_parameters)):
    return commons
访问 http://127.0.0.1:8000/depends/?q=test&skip=10,返回:
{"q": "test", "skip": 10}
我感觉注入依赖是一个比较难理解的内容,可以再看下面的内容增强理解
7. 中间件和错误处理
添加中间件
中间件用于处理请求和响应的全局逻辑,例如日志记录。
@app.middleware("http")
async def add_custom_header(request, call_next):
    response = await call_next(request)
    response.headers["X-Custom"] = "Example"
    return response
自定义异常处理
from fastapi import HTTPException

@app.get("/error/")
async def read_error():
    raise HTTPException(status_code=404, detail="Item not found")
访问 http://127.0.0.1:8000/error/,返回:
{"detail": "Item not found"}
8. 部署 FastAPI 应用
使用 Uvicorn 生产环境
去掉 --reload,指定主机和端口:
uvicorn main:app --host 0.0.0.0 --port 8000
使用 Gunicorn + Uvicorn
安装 Gunicorn:
pip install gunicorn
运行:
gunicorn -w 4 -k uvicorn.workers.UvicornWorker main:app
-w 4表示 4 个工作进程。
Docker 部署
创建一个 Dockerfile:
FROM python:3.9
WORKDIR /app
COPY . /app
RUN pip install fastapi uvicorn
CMD ["uvicorn", "main:app", "--host", "0.0.0.0", "--port", "8000"]
构建并运行:
docker build -t fastapi-app .
docker run -p 8000:8000 fastapi-app